The links below are affiliate links. This means every time you purchase through these links, I earn a small commission.
Did you know that ebonizing wood is a great way to give furniture or woodworking projects a unique and high-end look? Not only does it enhance the natural grain of the wood, but it also adds depth and dimension to the colour. So, if you’re looking to make your DIY projects stand out, ebonizing wood might just be the perfect solution for you!
Products Used
What Does Ebonizing Wood Mean?
Ebonizing wood is a technique used to darken wood to achieve a finish that resembles ebony. This process requires the application of a ‘rust’ solution, which then oxidizes or reacts with the tannins present in the wood to create a deep and rich colour. The ebonizing process can be used on various types of wood, but you’ll want to choose a wood that has high levels of tannins.
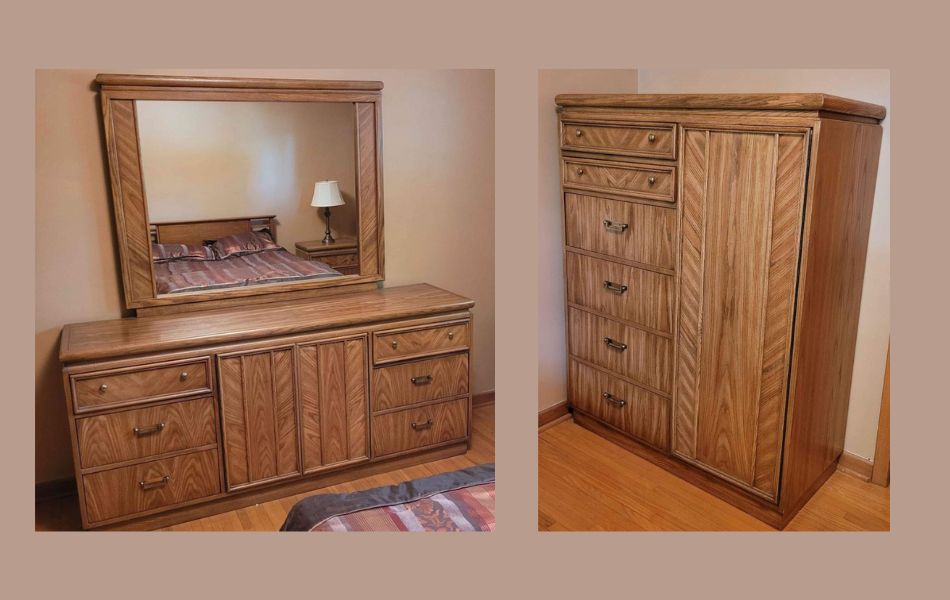
What Type of Wood is Ideal for Ebonizing?
Oak, walnut, and mahogany are the best options to go with, as they contain high levels of tannins that work well with the ebonizing solution, creating a beautiful deep black colour. I’ve used red oak and pine as well, however, it required a second application to achieve my desired dark colour. If you wish to experiment with other wood types, you can try cherry, maple, and ash. However, bear in mind that they require a bit more preparation and conditioning to achieve the look you want if you wish to achieve a very dark result.
Step-by-Step
Step 1. Make the Ebonizing Solution
It’s important to wear Nitrile Gloves while handling this solution to prevent any chemicals from seeping into your skin.
To create an ebonizing solution, you will need a good chunk of steel wool, preferably a piece the size of an average tennis ball. Place your steel wool in a clean, dry, GLASS mason jar. (For Step 3 it’s best to have 2 glass mason jars) Pour white vinegar into the jar until the steel wool is fully covered, almost to the top. It’s important to note that you should NOT put the lid on, as this process releases gases in the jar. Leave the solution outside or in a well-ventilated area for 3-5 days, stirring it every now and then. After this time, you will have successfully created an ebonizing solution.
Step 2. Prepare your Piece
Sand your piece with 120-220 grit sandpaper. It’s important to sand the wood to remove imperfections and rough spots before applying your solution. Afterward, clean the wood thoroughly to remove any dust or debris.
Step 3. Filter Solution
After you’ve waited 3-5 days, run your ebonizing solution through a mesh strainer to remove any pieces of steel wool that have not dissolved. Do not use one that you plan to use for food later.
Step 4. Apply to Piece
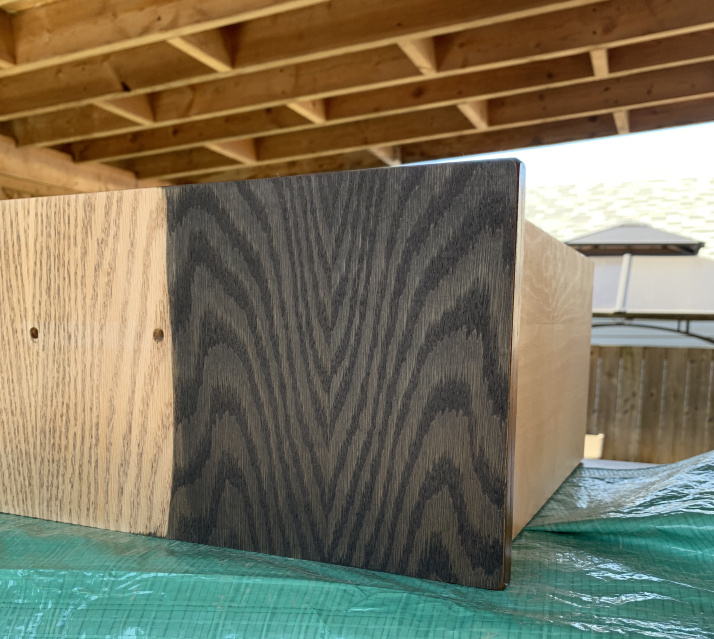
This is where the magic happens. Dip a foam brush into your solution and apply generously to your piece. The best part is that you don’t have to apply this solution like a stain, you can paint it on and watch the process happen in front of your eyes. You’ll want to be sure that you don’t go over the same spot too many times to avoid blotchiness. Wipe away any excess solution with a clean, lint-free cloth.
With some wood types, it may happen instantly but with some, it may take a few minutes to achieve your desired results.
Remember that not all wood types will have a deep, black result. Some may turn dark brown, a lighter brown or even a dark gray.
Step 5. Finish your Piece with a Sealant
It’s important to apply a protective finish to your piece. This will help to seal the colour and protect the wood from damage. The type of finish you choose will depend on the desired look. Common finishes include polyurethane, lacquer, and wax. When sealing the wood, make sure to apply the finish in thin, even coats, and allow each coat to dry completely before applying the next coat.

Common Mistakes To Avoid
- Not waiting long enough for your solution to oxidize
- Choosing the wrong type of wood for your desired results
- Using steel wool that is too coarse, taking much longer to break down
- Apply too much solution in one area
- Not prepping your piece beforehand
- Not wiping away excess liquid
- Working too slowly, be sure to evenly coat your piece in a timely manner