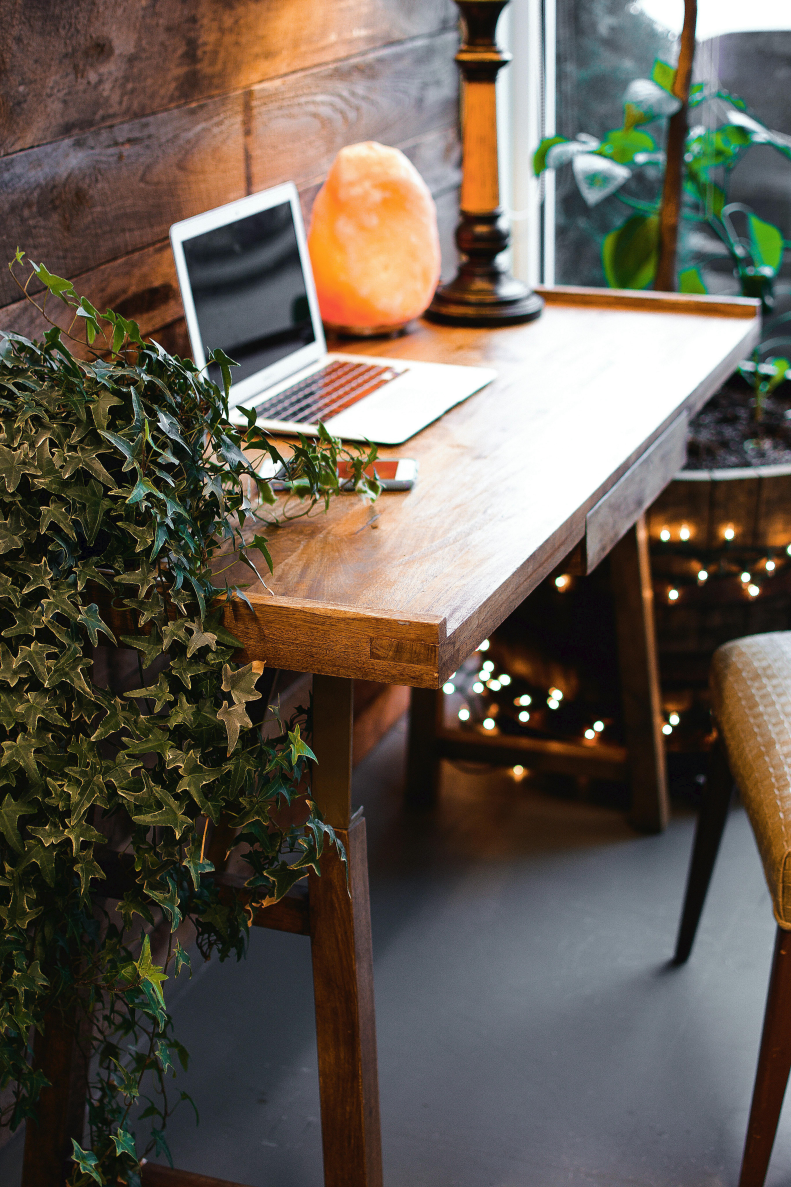
Have you meticulously worked on a project on a piece of furniture, only to have the final finish come out bumpy or hazy? I know I have. In this post, I will go through my steps to achieve a beautiful, smooth polyurethane finish, whether its matte, semi-gloss, or glossy.
The links below are affiliate links. This means every time you purchase through these links, I earn a small commission.
Products Used
What is Liquid Polyurethane?
Polyurethane is a type of liquid plastic that creates a protective finish on surfaces like wood, acrylic, or latex. There are two types: water-based and oil-based. The water-based option is easier to apply and dries faster, but it can be affected by heat and chemicals. The oil-based option takes longer to dry, works better for surfaces that may encounter heat, but may leave a slight yellow hue when dry.
Step 1- First Coat
After applying the final coat of stain or paint to your piece, the next step is to seal it. Whether you prefer brushing, rolling, or spraying your sealant, the method will work the same throughout. Apply the first coat to of polyurethane to your piece with and allow it to dry, following the specified dry times on the can, usually around 2-3 hours at least. Be sure that you are applying the sealant in a well ventilated area that is free of debris.
Step 2 – Sand with 220-320 Grit
After 2-3 hours, you can use a sanding block or a sheet of sandpaper with a grit between 220-320. Remember, the higher the grit number, the smoother the finish. Anything less than 220 will scratch the surface, and anything over 400 is unnecessary. Gently sand the surface to remove any bubbles, raised fibers, or imperfections. Don’t worry if fine lines appear in the first coat; the second coat will fill them in and make them disappear.
Step 3 – Clean the Surface
When removing dust from sanding after applying the first coat of polyurethane, it’s important to use a slightly damp cloth, not a wet one. Gently wipe the surface with the damp cloth to remove all the dust without applying excessive moisture to the polyurethane finish.
Allow your piece to dry for a few minutes before moving on to Step 4.
Step 4 – Apply Second Coat
When applying the second coat of polyurethane, it’s best to use the same method as the first coat for consistency. Make sure to apply the polyurethane evenly to avoid roller marks or brush strokes. If you are using a roller or brush, be careful not to go over the same spot more than once as the polyurethane will start drying, and this can cause unevenness or visible brush strokes.
Allow to dry for another 2-3 hours, preferably longer. I usually prefer to allow my pieces to dry overnight before moving on to the next step.
Step 5 – Repeat Step 2
When repeating step 2, I prefer to use 320 grit sandpaper. However, if you only have 220 grit available, that will work fine too. Use light pressure while sanding to even out the coating without removing any product.
Step 6 – Repeat Step 3
Your piece should now be smooth and completely free of bumps and imperfections. Once again, you’re going to take a damp cloth and wipe down your piece to ensure that the final coat will go on smoothly and clearly.
Step 7 – Final Coat
You’re now going to apply the final coat of polyurethane, it is important to ensure that you use the same method as you did for the first two coats. Once this coat is applied, you won’t be sanding the pieces again. Take your time and apply the polyurethane evenly and steadily to achieve a smooth finish.
Allow your piece to dry for at least 48 hours. You do not want to ruin all of your progress by moving on to the next step before your piece has had the time to begin to cure.
If you are satisfied with the finish on your piece at this point, congratulations, you did it! If you still want a smoother finish, or have a few little bumps that are bothering you, then move on to step 8.
Step 8 – Use a Paper Bag
After allowing your piece to dry for at least 48 hours, it’s time to give it a final touch. Take a brown paper bag and gently rub the surface to remove any little bumps. Be extremely gentle and make sure not to apply too much pressure. You should be able to feel the bumps, and the brown paper bag will help knock them off without creating any fine lines. Use one hand to feel the piece while using the other hand to rub it with the brown paper bag. This way, you can ensure that you’re not overdoing it.

